ESXi Version Update
This guide details how to update the ESXi version using the command-line interface (CLI). CLI updates are ideal when you need a controlled, automated update process. Let's dive in!
Online ESXi Update via CLI
-
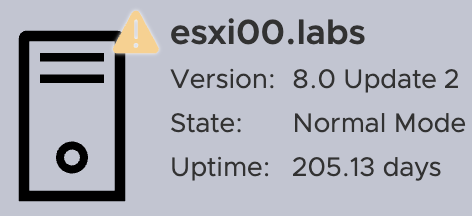
Check the ESXi Version:
First, let's verify the current ESXi version. You can find this information in the web interface:
-
SSH into the ESXi Host:
Enable SSH access (Left navigation, Host Page, ⚙︎ Actions > Services > Enable Secure Shell (SSH)).
Connect to your ESXi host using SSH. Replace the IP address with your host's IP.
ssh [email protected] # adjust the username and IP addressUse the CLI to check the ESXi version:
vmware -v

### Output
# VMware ESXi 8.0.2 build-23825572 -
Check the Latest Installation/Update Activity:
Let's check the installation date of the current ESXi version. This helps ensure we're starting from a known point:
esxcli software vib list | grep 'Install\|esx-base'

### Output
# Name                           Version                               Vendor  Acceptance Level  Install Date  Platforms
# esx-base 8.0.2-0.40.23825572 VMware VMwareCertified 2024-05-24 host -
Check ESXi Version and Profile Before the Update:
Confirm the current ESXi version and profile using this command:
esxcli software profile get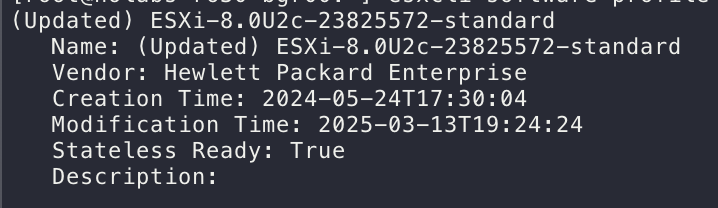
-
Enable Firewall Rule for Internet Access:
Enable the
httpClientfirewall rule to allow the ESXi host to access the VMware online depot:esxcli network firewall ruleset set -e true -r httpClient -
Check Available Images in the VMware Online Depot:
Now, let's see which ESXi versions are available for update:
esxcli software sources profile list --depot=https://hostupdate.vmware.com/software/VUM/PRODUCTION/main/vmw-depot-index.xmlOr, use this command:
LANG=en_US.UTF-8 /usr/lib/vmware/esxcli-software sources.profile.list -d "https://hostupdate.vmware.com/software/VUM/PRODUCTION/main/vmw-depot-index.xml"⚠️ Note for ESXi 8.x and above:
You might encounter a
[MemoryError]due to a fixed memory limit for ESXCLI.Check the current memory limit:
grep 'mem=' /usr/lib/vmware/esxcli-software

### Output
# #!/usr/bin/python ++group=esximage,mem=300
Increase the memory limit from 300MB to 500MB:
esxcli system settings advanced set -o /VisorFS/VisorFSPristineTardisk -i 0
cp /usr/lib/vmware/esxcli-software /usr/lib/vmware/esxcli-software.bak
sed -i 's/mem=300/mem=500/g' /usr/lib/vmware/esxcli-software.bak
mv /usr/lib/vmware/esxcli-software.bak /usr/lib/vmware/esxcli-software -f
esxcli system settings advanced set -o /VisorFS/VisorFSPristineTardisk -i 1
After increasing the memory limit, rerun the command to check available images.
-
Filter Images (Optional):
The list of available images can be quite long. Use
grepto filter by year or a specific version. In this example, we're filtering forESXi-8.0U3d-24585383-standard:esxcli software sources profile list --depot=https://hostupdate.vmware.com/software/VUM/PRODUCTION/main/vmw-depot-index.xml | grep 2025
### Output
# ESXi-7.0U3s-24585291-standard VMware, Inc. PartnerSupported 2025-03-04T00:00:00 2025-03-04T00:00:00
# ESXi-7.0U3s-24585291-no-tools VMware, Inc. PartnerSupported 2025-03-04T00:00:00 2025-02-21T03:24:14
# ESXi-8.0U2d-24585300-standard VMware, Inc. PartnerSupported 2025-03-04T00:00:00 2025-03-04T00:00:00
# ESXi-8.0U2d-24585300-no-tools VMware, Inc. PartnerSupported 2025-03-04T00:00:00 2025-02-21T03:56:44
# ESXi-8.0U3d-24585383-no-tools VMware, Inc. PartnerSupported 2025-03-04T00:00:00 2025-03-04T00:00:00
# ESXi-8.0U3d-24585383-standard VMware, Inc. PartnerSupported 2025-03-04T00:00:00 2025-03-04T00:00:00 -
Enter Maintenance Mode:
Before updating, put the ESXi host into maintenance mode. Important: Shut down all VMs running on the host first!
esxcli system maintenanceMode set --enable=true -
Execute the Update:
Upgrade to the chosen build profile. Replace
ESXi-8.0U3d-24585383-standardwith the desired profile name.esxcli software profile update -p ESXi-8.0U3d-24585383-standard -d https://hostupdate.vmware.com/software/VUM/PRODUCTION/main/vmw-depot-index.xmlIf you encounter a
[HardwareError]due to unsupported CPU, use the--no-hardware-warningflag:esxcli software profile update -p ESXi-8.0U3d-24585383-standard -d https://hostupdate.vmware.com/software/VUM/PRODUCTION/main/vmw-depot-index.xml --no-hardware-warning -
Wait for Completion:
The upgrade process will take some time. Be patient!
-
Disable Internet Access:
Once the upgrade completes, disable internet access for security:
esxcli network firewall ruleset set -e false -r httpClient -
Reboot the Host:
Reboot the ESXi host to apply the updates.
reboot -
Enable SSH:
After rebooting, access the web interface and re-enable SSH access.
-
Disable Maintenance Mode:
Take the ESXi host out of maintenance mode:
esxcli system maintenanceMode set --enable=false -
Check Profile (Again):
Verify the updated ESXi profile:
esxcli software profile get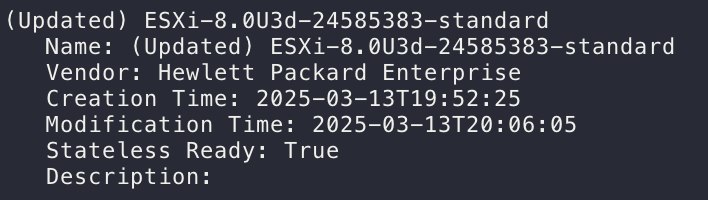
Reference
- Updating VMware ESXi Host from the Command Line (ESXCLI)
- Quick Tip - Using ESXCLI to upgrade ESXi 8.x throws MemoryError or Got no data from process
- https://thenicholson.com/updating-esxi-using-esxcli-broadcom-tokens/
- https://knowledge.broadcom.com/external/article/343840/patching-esxi-host-using-command-line.html